

How to Install Scaffolding Debris Netting: Step-by-Step Guide & Best Practices
Proper installation of scaffolding debris netting is critical for maintaining perimeter safety, preventing dropped-object liabilities, and meeting municipal building codes. Following standardized installation protocols ensures your netting withstands severe wind loads, retains falling tools, and keeps urban job sites safe and operational.
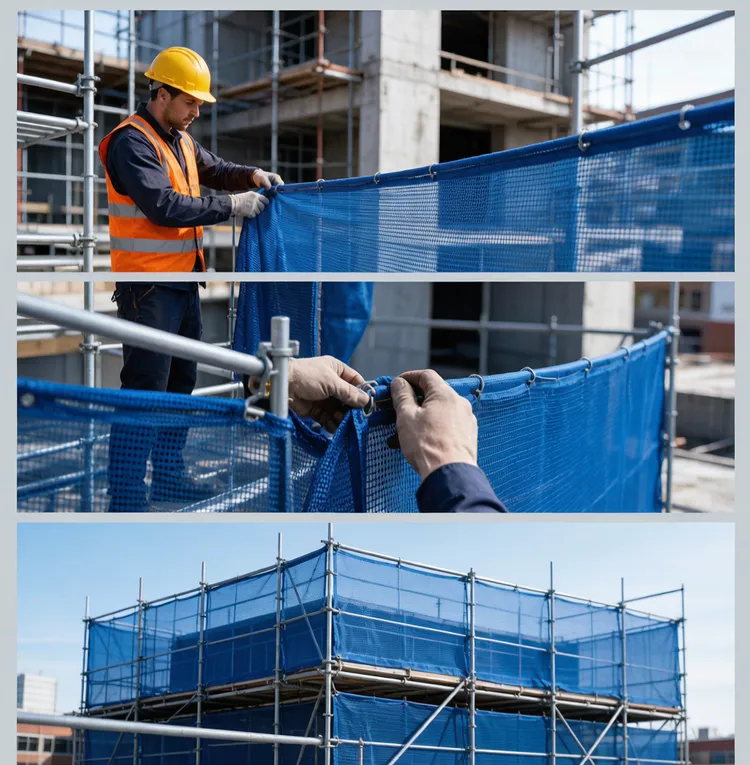
6 Steps to Correctly Install Scaffolding Debris Netting
Step 1: Select Certified HDPE Debris Netting: Choose high-density polyethylene (HDPE) netting with a material density of 100 to 180 GSM and reinforced buttonhole eyelets. For high-rise building projects in windy coastal zones, select mesh that provides 50% to 60% wind permeability to minimize structural drag on temporary scaffolding frames in compliance with ANSI A10.37 guidelines.
Step 2: Gather Heavy-Duty Installation Hardware: Prepare all attachment hardware before working at height. A standard installation setup requires heavy-duty shears, measuring tapes, fall-arrest harnesses, and UV-stabilized nylon cable ties rated for at least 50 lbs (22 kg) tensile strength to prevent tie failure under load.
Step 3: Measure and Cut with Overlap Margins: Measure the scaffold bays precisely, adding an extra 15 to 20 cm (6 to 8 inches) of netting margin along all vertical seams and corner posts. Overlapping adjacent net panels ensures complete containment without leaving open slits where falling masonry or hand tools can escape.
Step 4: Secure the Top Edge to Scaffold Guardrails: Fasten the top border of the netting to the top guardrail or ledger pipe using heavy-duty zip ties spaced every 30 to 45 cm (12 to 18 inches) through the pre-punched eyelets. Pulling the mesh taut horizontally prevents sagging and wind flap. On large commercial projects, a trained two-man crew can secure over 100 linear meters of perimeter netting per hour using this technique.
Step 5: Fasten Sides and Tension the Bottom Edge: Anchor the side borders to vertical scaffold standards and pull the bottom edge tightly against the toe board or bottom ledger. In high-density urban facade restorations, doubling cable tie anchors on corner posts and windward elevations prevents wind whip tearing during severe weather.
Step 6: Inspect for Gaps and Conduct Daily Checks: Perform a thorough post-installation audit along all seams and perimeter tie-offs to verify zero open gaps exceed 2.5 cm (1 inch). To maintain OSHA 1926.502 compliance, schedule visual pre-shift inspections daily and perform immediate re-tensioning checks following storm events with wind gusts exceeding 35 mph (56 km/h).
Elevate Your Site Safety Today
Installing high-grade scaffolding debris netting is a straightforward, cost-effective strategy to protect elevated crews, shield ground-level pedestrians, and maintain job site safety compliance.
Contact our technical equipment team today to request custom roll dimensions, hardware kits, and competitive factory-direct pricing for your next construction project.